(01) 123-456-7890
info@website.com
Making the Scrambler Cool
Hits: 1420
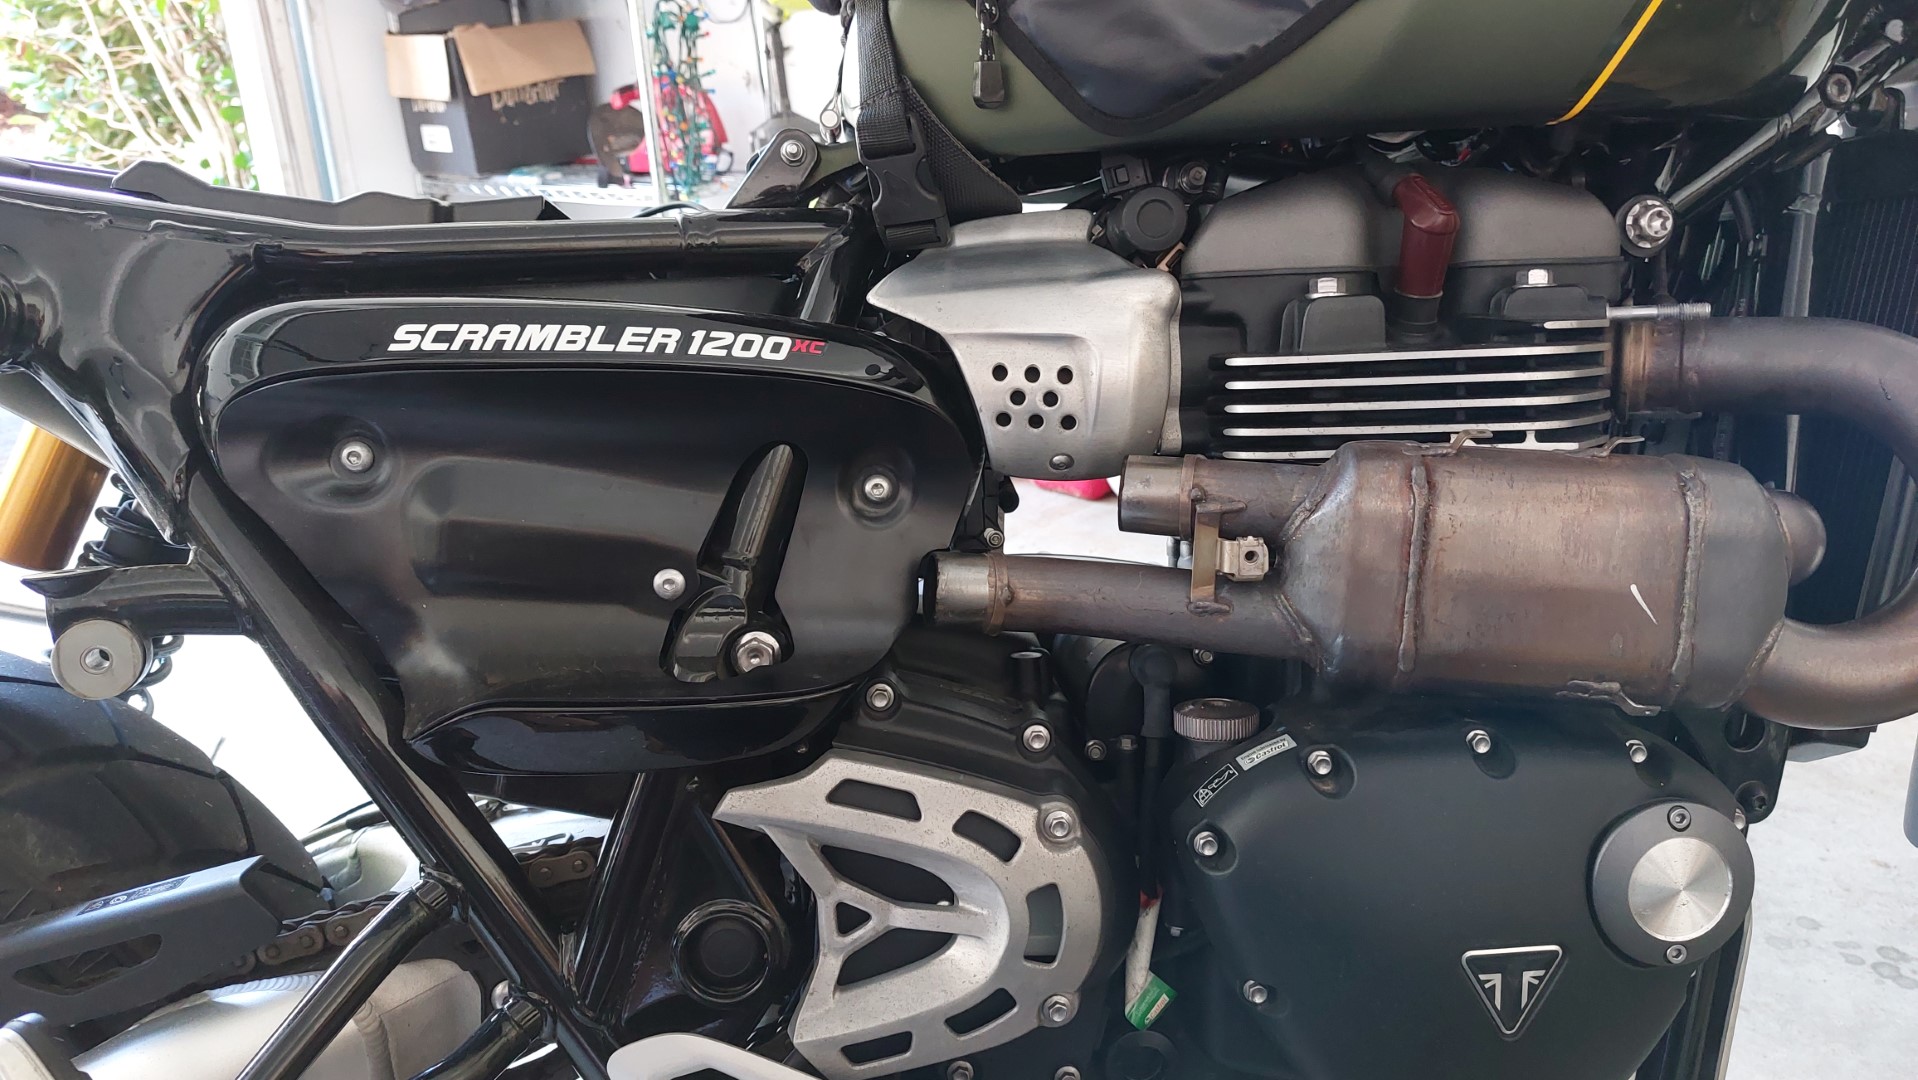
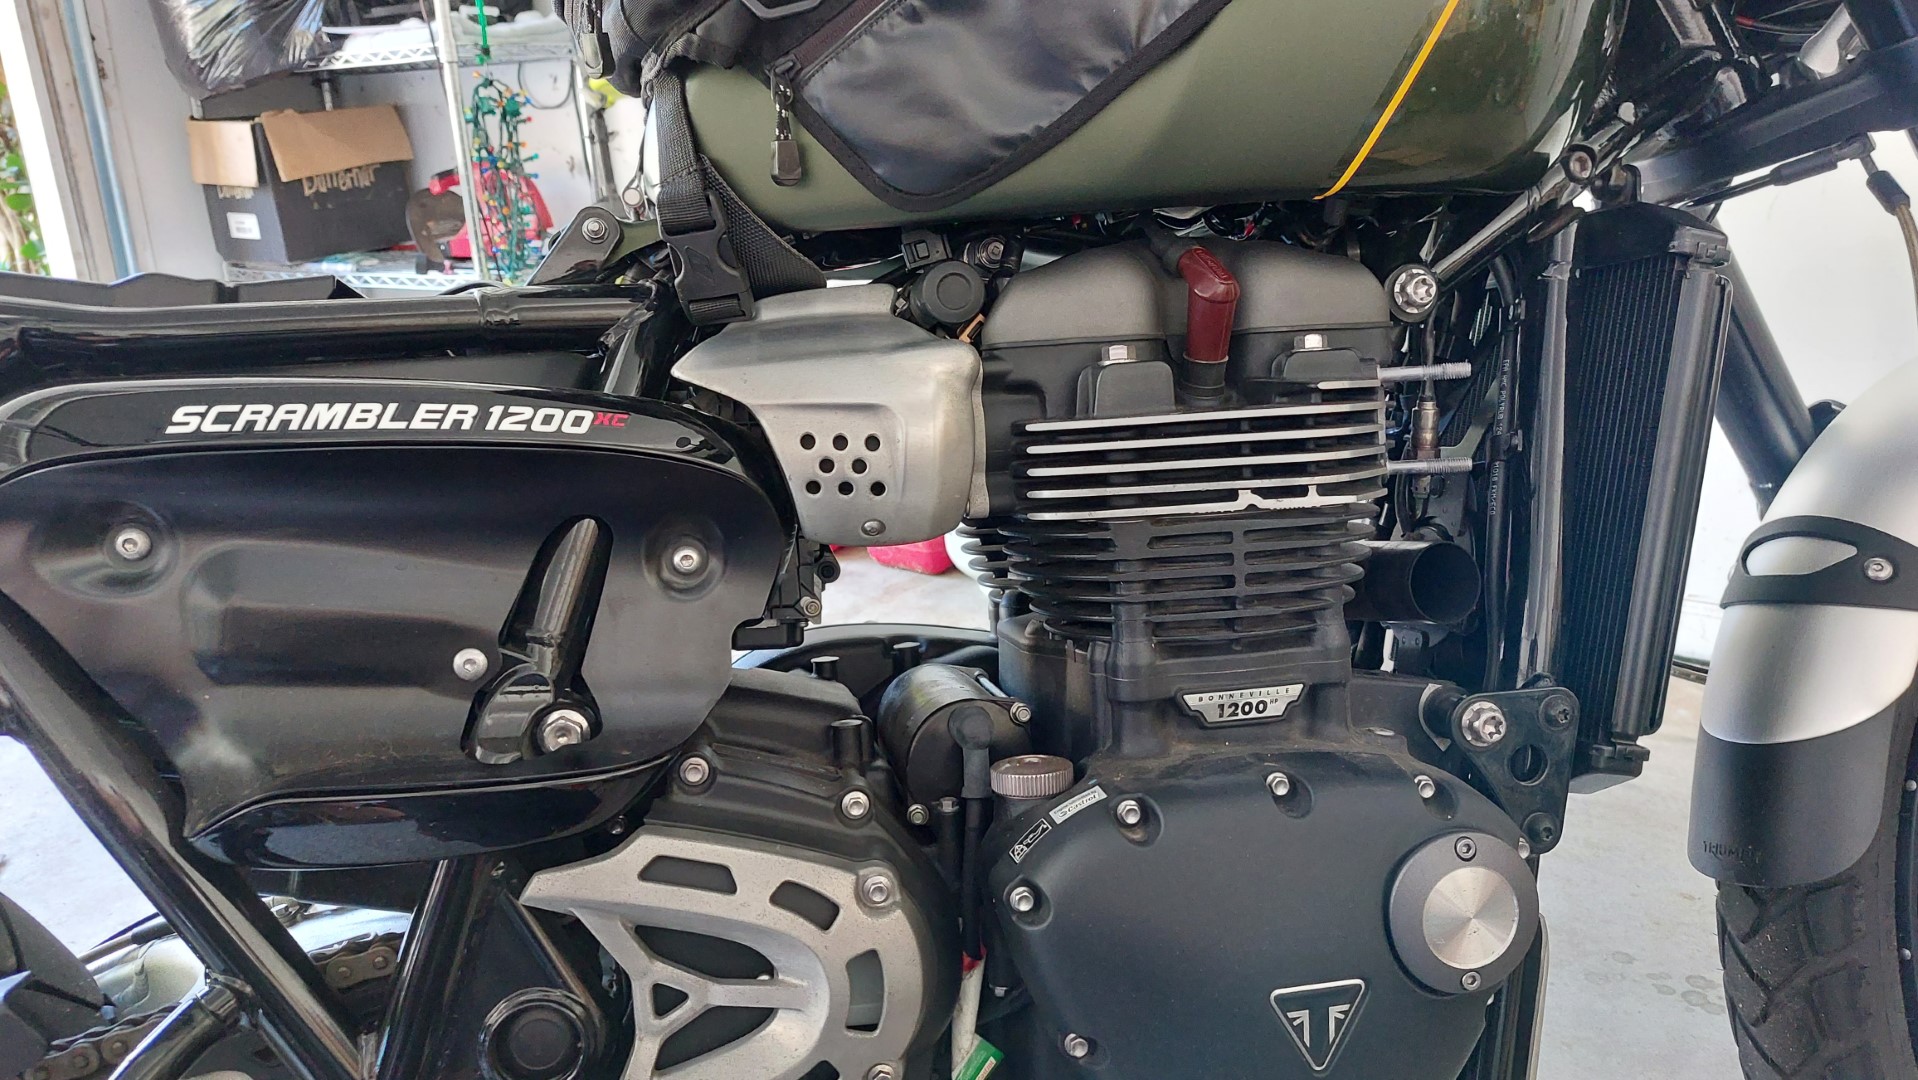
Excessive heat from the exhaust of the Triumph Scrambler 1200s is a much discussed subject. The positioning of the catalytic converter on the 2019 - 2021 models was the only serious design flaw on an otherwise superb bike. These cats run at temperatures above 752 °F and the positioning on the early model Scrambler 1200s with their classic high level exhaust system is really not good for a rider. Unfortunately, Triumph's fix for this pushed the cat back to be incorporated in the tail pipe assembly, so I guess now the heat issue affects your pillion passenger, or roasts your buns instead of your leg.
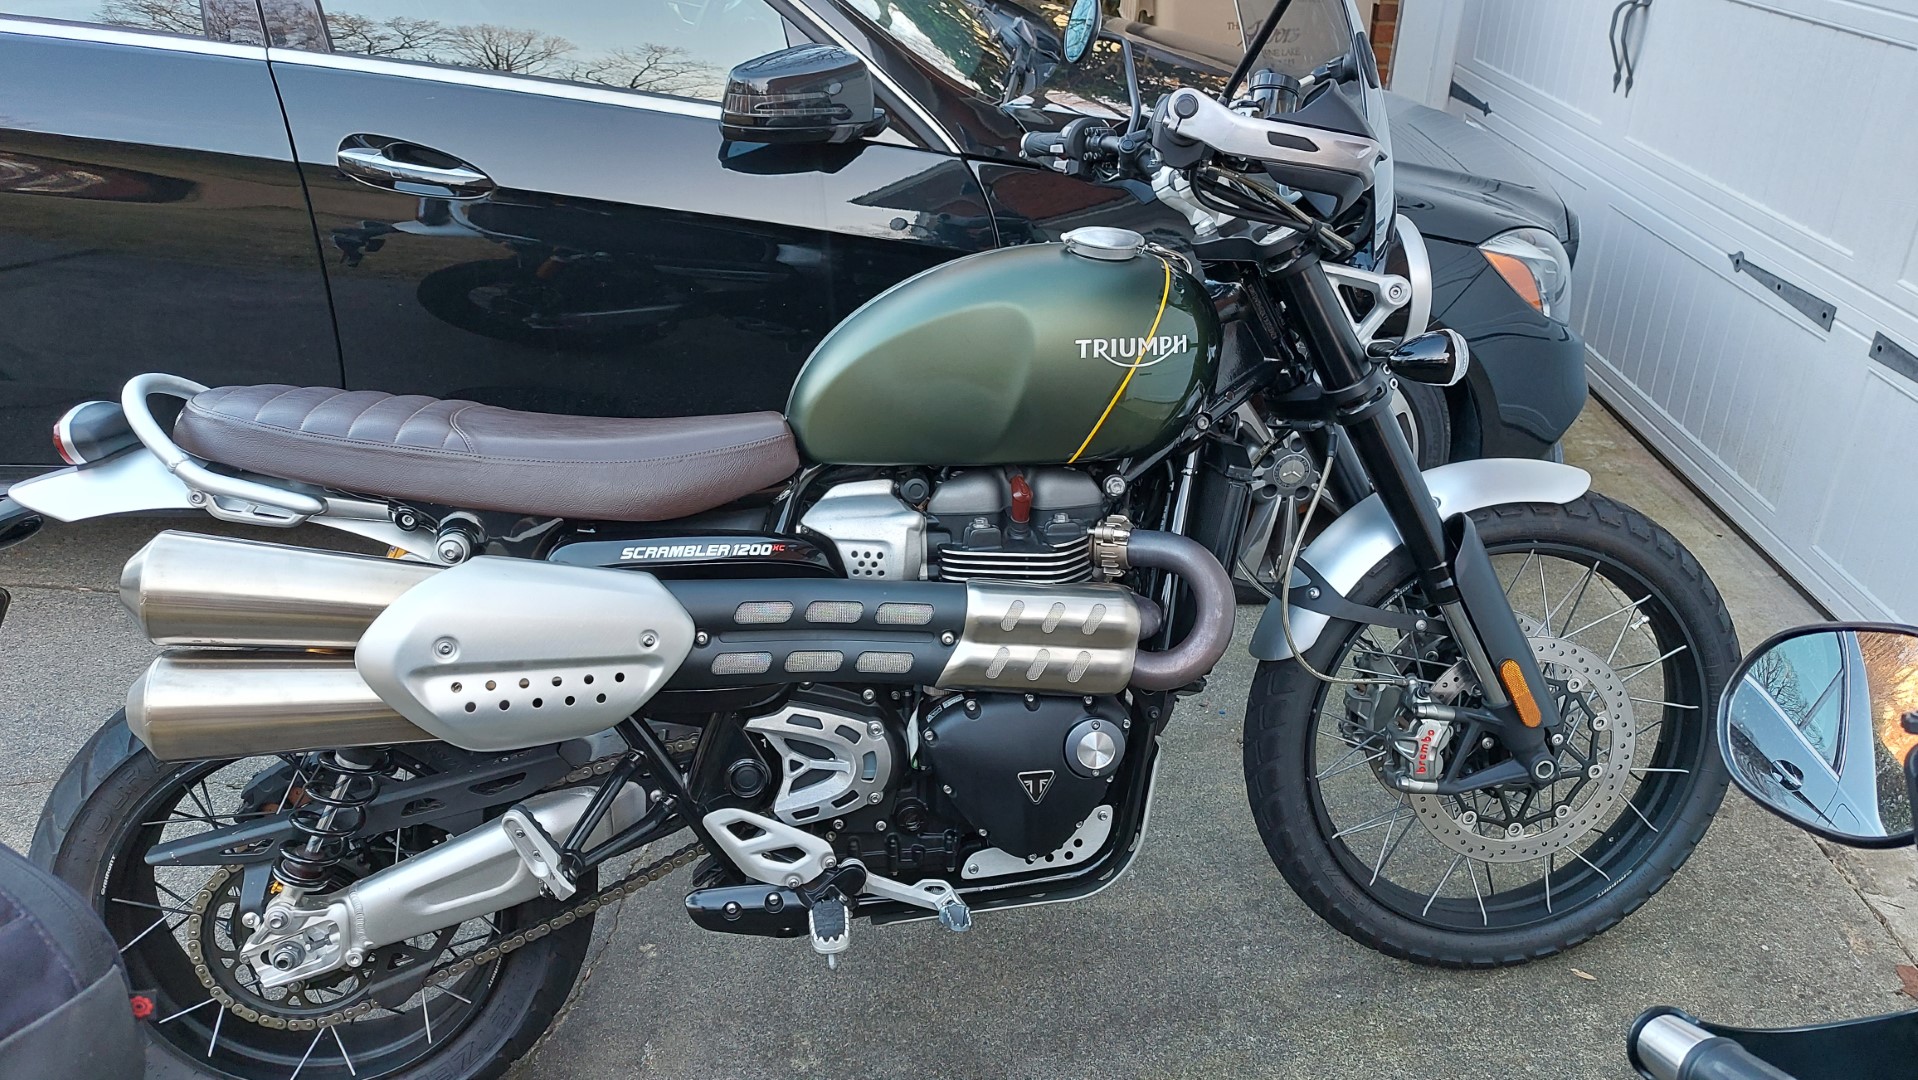
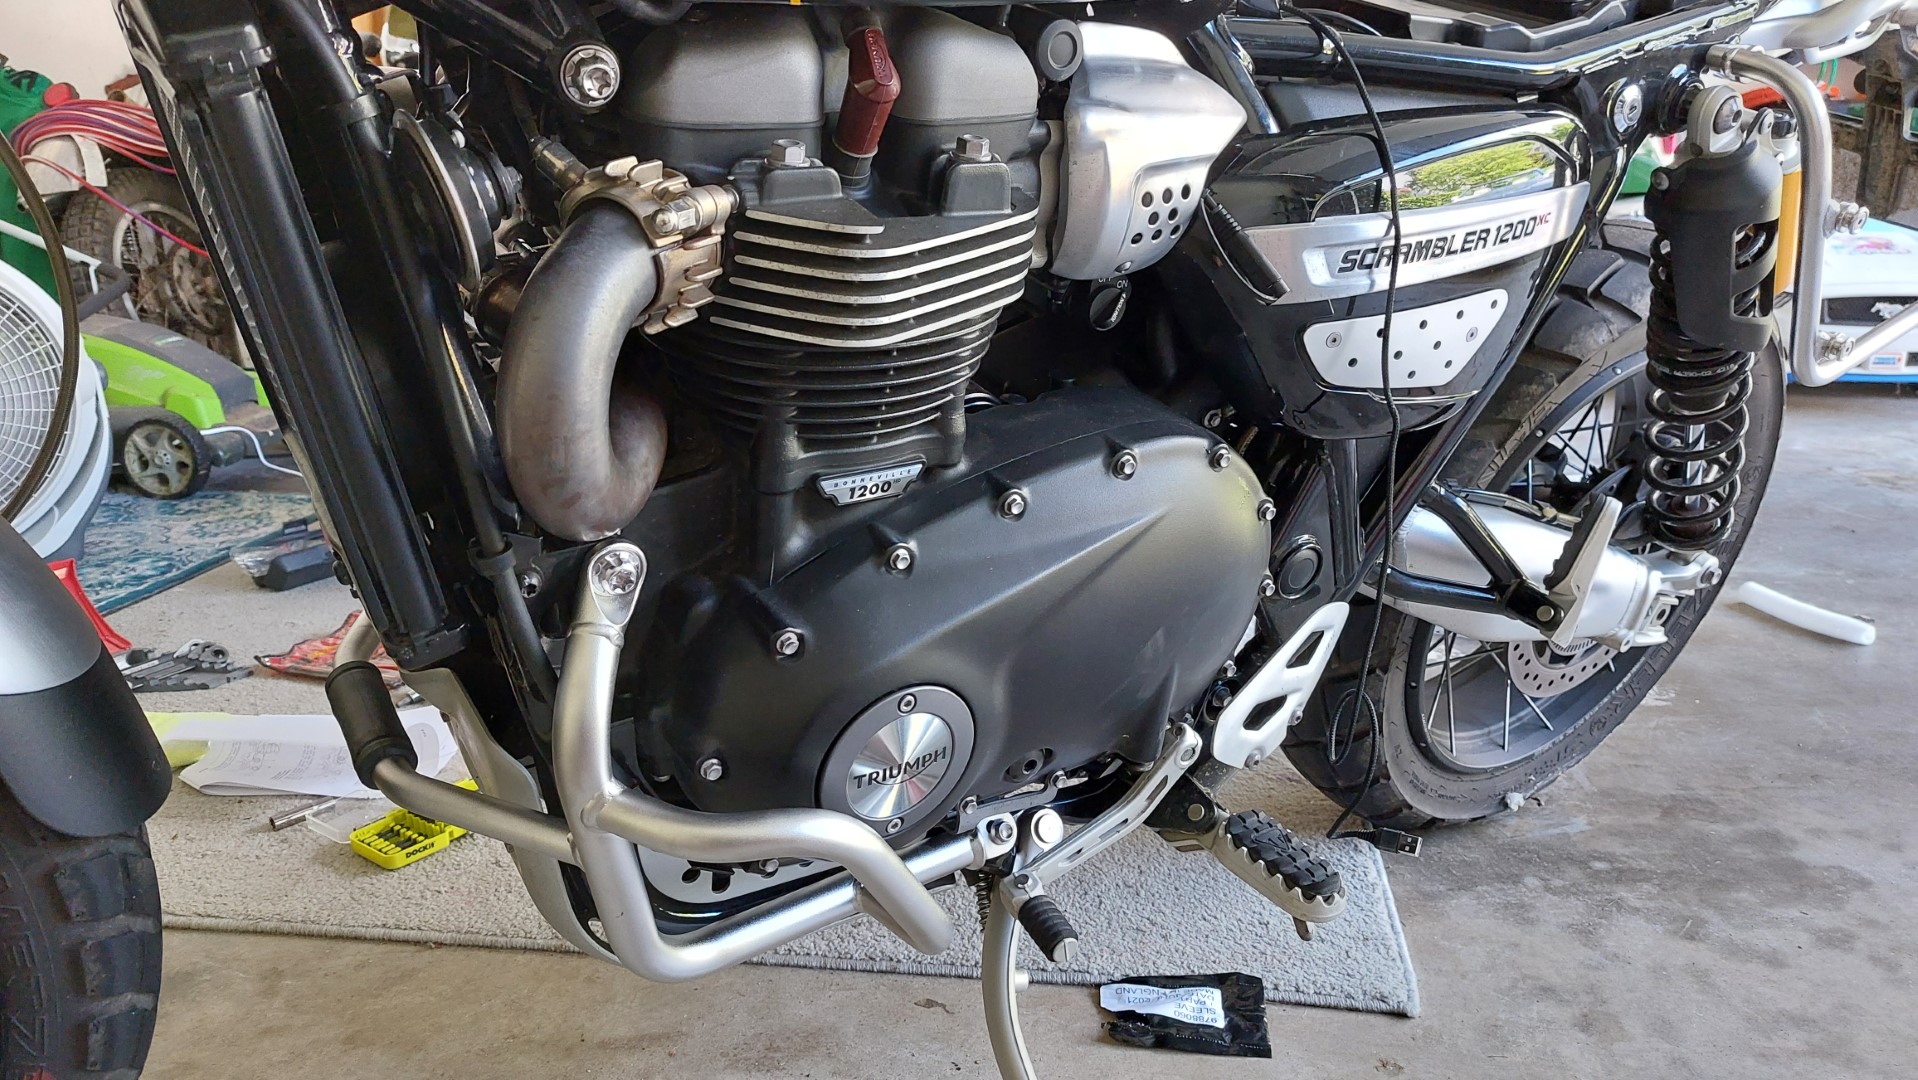
For those not familiar with these bikes, this is what they look like. The cat sits right in line with the cylinder, which of course is right in line with your knee and upper calf, and the portion of the exhaust that is covered by the black trim is where all that heat moves back to, so creating a mini convection oven for your inner thigh.
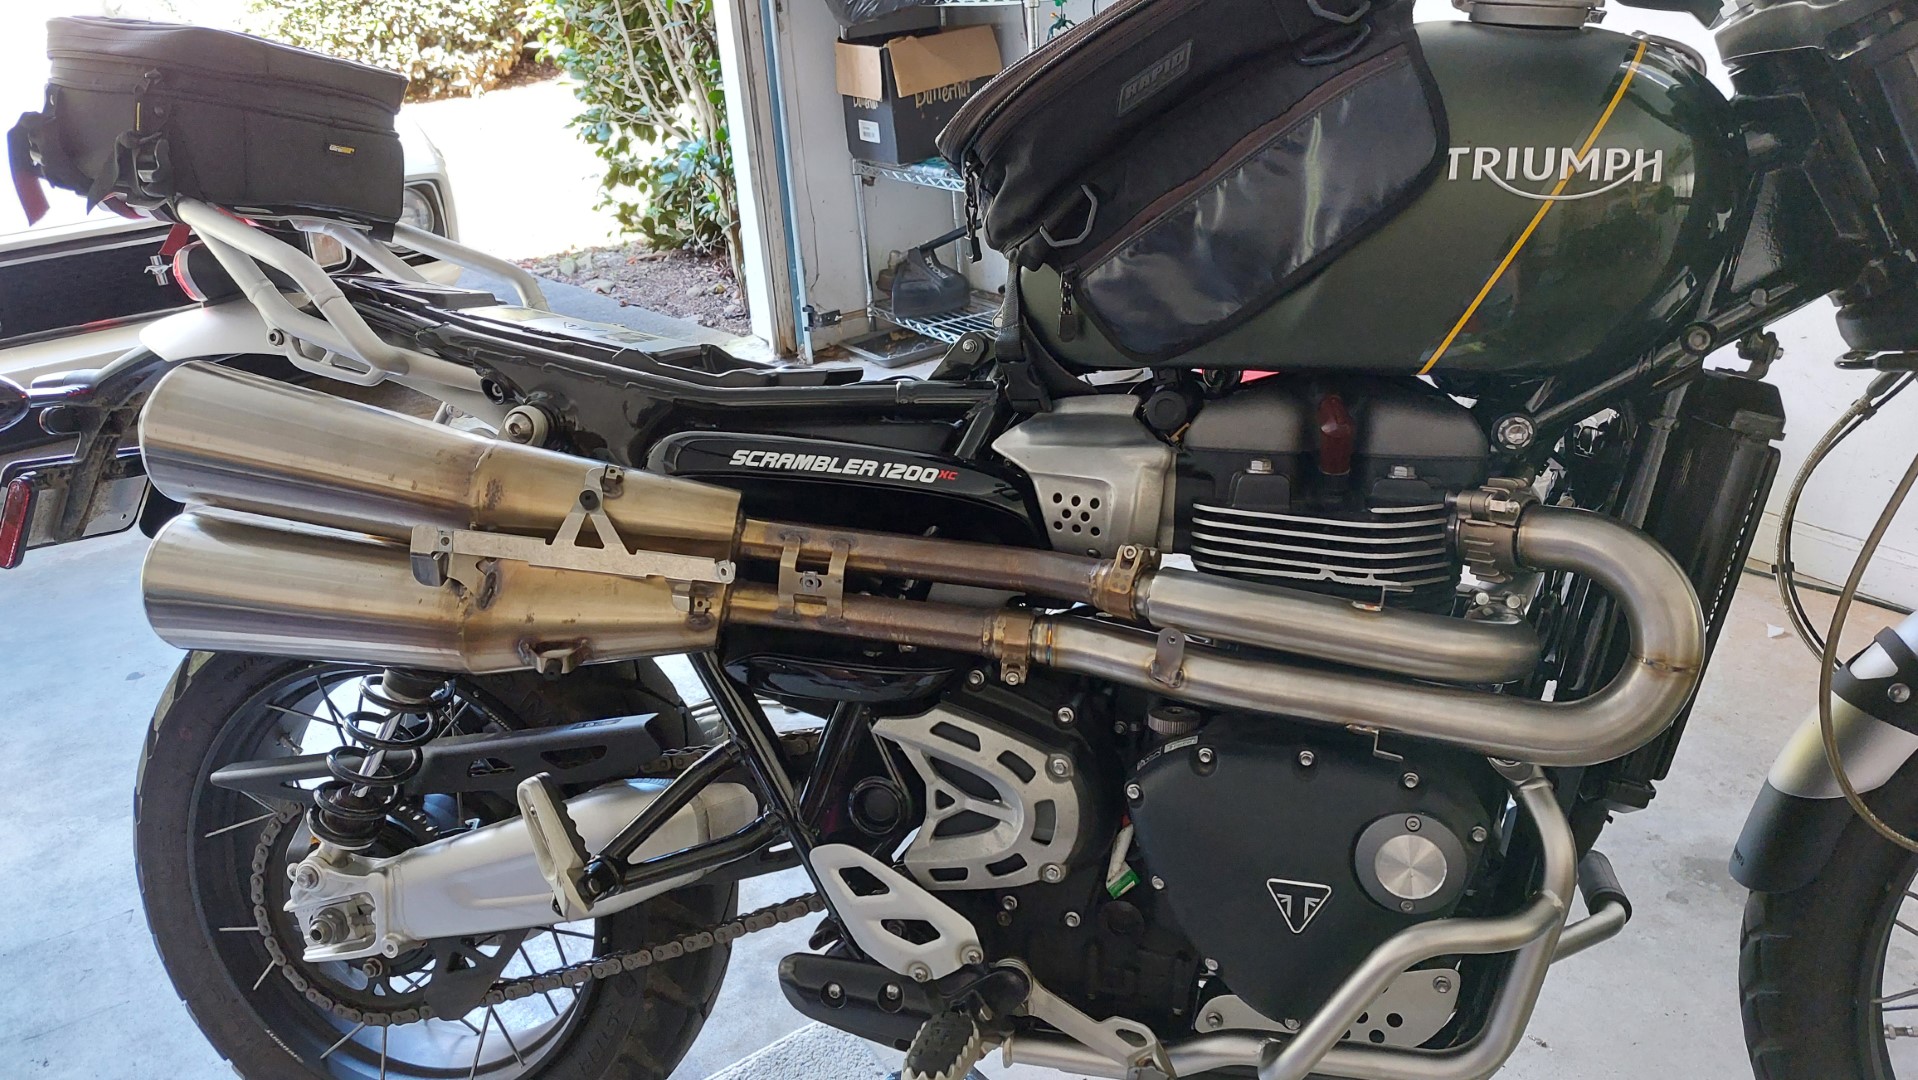
Now I have to say, I personally didn't find the problem to be a show-stopper, even in the summer heat of GA, it's really a matter of being cautious with leg positioning when you come to the inevitable stops on a ride. I found that using my left foot for ground contact, and keeping my right foot on the peg, with my knee pointed out worked adequately to stop the heat transfer into my leg. Of course when you're moving the heat is much less of a problem as the airflow naturally helps, and if you do get a tad warm, then again sticking the old right knee out a bit to open up an air gap between one's leg and the exhaust takes care of the problem. That said of course, all this yoga positioning of your leg on the bike is not ideal, so I did finally elect to take care of the problem and replace the exhaust headers with straight pipes.
After a lot of research on the subject I decided to go with the British Customs headers that come as two separate pipes. A lot of the other options I found were for X pipe configuration with the left and right side headers joined, and videos of fitting such headers looked like a much more fiddly and time consuming job than it should be, and I really don't see the benefit of X pipes on a two cylinder motorcycle. After all, single pipes from each pot on multi-cylinder bikes has been the norm for decades, so why change that if it ain't broke!
Since I was going to be stripping the bike down a fair bit anyway, I also decided to add the engine dresser bars at the same time, as having the exhaust headers off makes for a little easier access to the engine mounting bolts that are used to also mount the dresser bars.
Tip #1 - Before starting the job turn off the ignition master switch and disconnect the ground wire from the battery (this protects from any issues with the ECU related to the removal of the O2 sensor in the header).
Disassembly of the exhaust is really simple, just a couple of 12mm bolts that hold the tail pipes to the frame, some allen bolt clamps used to join the tail pipes to the headers / cat, and the clamps that mount the headers to the engine. The exhaust was stripped off in very little time.
Next I fitted the right side dresser bars, which was a breeze also.
Tip #2 - Stuff a rag into the space between the engine and the bash plate to catch the nuts if they fall off. If you don't, you will end up taking off the bash plate anyway to get to any dropped nuts (or anything else).

Next I fitted the new headers and refitted the exhaust, but here is a tip...
Tip #3 - While the headers are off you should fit the left side engine dresser bars, because getting to the nut for the engine mounting bolt is a royal pain in the butt! I must have spent over 30 minutes alone just trying to get that nut lined up, so the bolt would start to thread into it.
Because I did not install the left-side dresser bars while the headers were off I had to figure out how to get the nut positioned so the engine mounting bolt would start threading into it. I tried putting the nut in a socket and using an extension bar to hold it in place from the other side of the bike, and putting the nut in a ring wrench and trying to position it from the top of the engine. Neither worked, so in the end I removed the bash plate and managed to squeeze my fingers up into the space and get the nut lined up.
So Tip #4 - Ignore Tip #2 and go ahead and remove the bash plate anyway, it will just make this job easier and it really takes no time to remove or reinstall.
After much frustration and cycles of "yes, got it!", only to then have the nut drop into some obscure gap in the frame or other sneaky place, I did finally get the left side dresser bars installed.
All in all, up to this point the job had gone extremely well and much quicker than the accounts of doing this work from others that I had viewed while researching the project. I was very pleased and even more so when I fired up the bike and didn't hear any leaks from the exhaust joints, and also was not disturbed by the exhaust note from the straight through headers. It was a good afternoon's work and looking forward to road testing it soon.
One last note on the project though and a summary of tips to follow... While putting the exhaust trim back on I made the mistake of over-tightening the rear allen bolt in the black trim piece and stripped the little clip that it screws into. I managed to unscrew the stripped bolt easily (not always the case), but then found I could not get the front bolt out, and in trying to do so I popped the captive nut off the plate on the British Customs header. I'm not really sure it should have come off that easily and I have taken that up with them as a quality issue. British Customs responded to my feedback immediately. They asked for photos and have taken the problem to their product team. So far this is looking like being a great customer service experience.
With hindsight I believe the stuck bolt problem was caused by me putting the trim back on while the exhaust was hot. The front bolt and captive nut bound together due to thermal expansion, and I was not patient enough to wait for it all to cool down before trying to remove the stuck bolt. Well lesson learned, and while I do have it all assembled and the trim fitted, behind the scenes it's a little messy and my OCD will force me to remove the trim and fix the mounting problem properly at some point, especially if the trim rattles on the road!
So my list of tips:
Tip #1 - Turn off the ignition master switch and disconnect the ground wire from the battery (this protects from any issues with the ECU related to the removal of the O2 sensor in the header).
Tip #2 - Stuff a rag into the space between the engine and the bash plate to catch the nuts if they fall off. If you don't you will end up taking off the bash plate anyway to get to any dropped nuts (or anything else).
Tip #3 - While the headers are off you should fit the left side engine dresser bars, because getting to the nut for the engine mounting bolt is a royal pain in the butt! I must have spent over 30 minutes alone just trying to get that nut lined up, so the bolt would start to thread into it.
Tip #4 - Ignore Tip #2 and go ahead and remove the bash plate anyway, it will just make this job easier and it really takes no time to remove or reinstall.
Tip #5 - Be confident that you have installed the headers correctly and that you will NOT have a leak to deal with, so refit the trim while the exhaust is cold
Tip #6 - If you have a need to remove the exhaust trim again after the bike has warmed up, fight the urge and let the bike fully cool down before doing so. Not only will this make it easier for removing the trim mounting bolts, but you will save yourself from accidental burns from the hot exhaust (yeah, common sense, right!)
And if you are wondering, this is what it sounds like (and please ignore my knobbly knees)